HAPPY EASTER EVERYONE!
Today I am sharing my April Eclectic Ellapu
design team inspiration project. The theme
for April is to Create a Box and Fill it with Goodies! This challenge is just perfect for the
occasion. I absolutely love, love, love
Easter!!! It is my favorite holiday and
time of the year. I couldn’t wait to get
started on my project. This year
instead of doing the traditional baskets for Easter, I decided why not make it
a box?? It just so happened that I had
some orders for Easter goodies, so these boxes were right on point. To create the project I started with
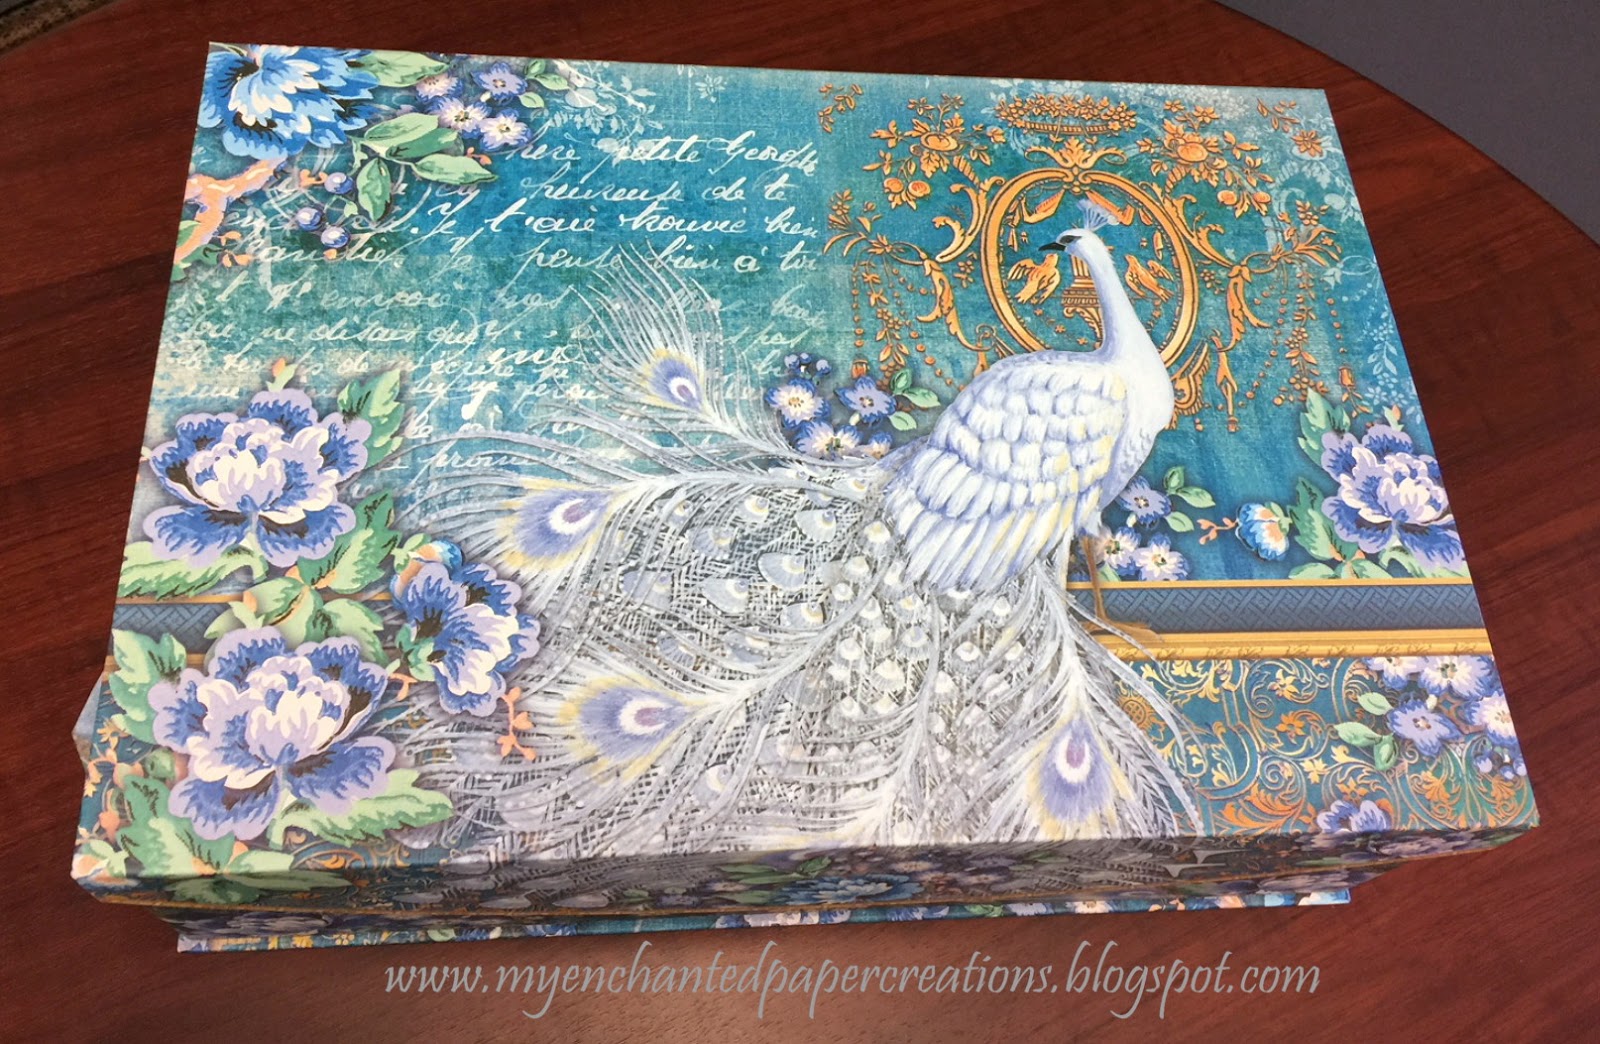
decorative boxes from Tuesday Morning, one for a boy, a girl, and an adult
female. I filled each box with shredded
paper in a coordinating colour (also from Tuesday Morning). You can find the same supplies at your local
big box craft stores like Michaels, Hobby Lobby, and JoAnns. I made
sure to ask the ages and likes of the recipients including colours (you’ll want
to cater the box to the recipient). I
try to get as close to the likes as I can.
Let me just say, I had a blast picking out things to add to the
boxes. But be careful not to overdo it,
most of the boxes come with the magnet closure that is not very strong, so you
may have to reinforce the closure if you overdo it. One of the recipients is a
2 year old, so I thought she should be starting to write or want to
anyway. At that age a standard crayon
is actually too small to help fine-tune their dexterity, so I got the jumbo
crayola crayons instead. One of the
recipients is 6 years old and probably starting to discover the icky adventures
of picking up insects and other eeeky things.
For him I found this neat little magnifying container. You put the insect in the container (it won’t
hurt the insect) and you can view it up close; doesn’t that just scream “boy
stuff”! For the adult, the one thing I
know is that she lovvvvvvvves candy (I think more than her grandkids). She was also retiring so I got her things that
she could do while retired. There is a
beautiful peacock mug, a peacock covered journal, and some peacock inspired
note cards and envelopes. She’ll have
plenty of time to sit on her porch, drinking tea, while writing thank you cards
and memories in her journal; oh yes and eating her candy. For the two little people boxes, I finished
the packages off by putting them in Michaels Celebrate-It clear cellophane gift
bag, created a hand stamped tag using one of their dollar stamps (Happy Easter)
, some colourful oval shaped tags, and balloon streamer ribbon. Now talk about an easy and fun project, this
is it! Well, thanks for stopping by; I hope this
inspires you to celebrate the resurrection of our Lord and Savior Jesus Christ
in a sweet way. Until next time…



 |
| Of course I forgot to take a picture of the boxes all packaged up so I had my customer send me a snap shot. |
Joyce Ann


